
I thought I’d share with you a game changer. Something that once you see it, it will make you look at SOLIDWORKS in a completely different light and in an even more positive way. A lot of you may already be aware of 3DContentCentral and GrabCAD, but are you aware of The Foundry Community?
The Foundry community is an asset site. A place where people share materials and appearances. These aren’t just normal off the shelf appearances though. Although there are classic appearances available such as plastics and metals, there are also appearances like Elmo Fur, Dirt, Cracked Paint, rust and a green lava blob just to name a few. These new appearances are something that can take your rendering to the next level. You’ll no longer be limited to the standard appearances in SOLIDWORKS.

Step 1.
The first thing you’ll need to do once you’ve built a model is sign up to The Foundry Community. This is completely free and once you’ve signed up, you’ll have access to 1000s of different appearances.
Step 2.
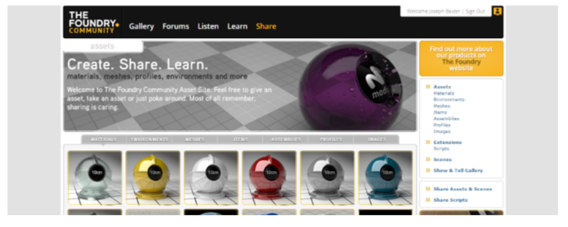
The next thing you’ll want to do is simply browse for the look you’re after. Once you’ve found the one you want, simply accept the terms and conditions and press download.
When you press the download button, the zip file opens in windows explorer.

Step 3.
When the zip files opens in windows explorer simply move it out of the way and when in SOLIDWORKS taskpane click on the appearances tab.
There are various ways you can save the new appearance in the appearances folders. But for now we are simply going to create a new folder called ‘Foundry’ in the appearance library. You can name yours whatever you like or whatever you feel will be most suitable.

Right click on the appearances folder and click open folder. Next create a new folder called ‘foundry’ and drag the .lxp file from the downloaded zip file into the ‘Foundry’ folder. Refresh the folder and your new appearance will be ready to apply and use like all of the other appearances
Step 4.
Apply the new appearance onto the face/body/part. Notice the appearance appears in the graphics window as 2D. This is because surface finishes only appear when rendering occurs. You can however preview the new appearance using the preview render functionality of PhotoView360.

Here is an example that I carried out to show you the kind of affects that you can achieve by using this new appearance library.
Photoview 360 is included in both SOLIDWORKS Professional and SOLIDWORKS Premium software packages.
0 comments:
Post a Comment
Note: only a member of this blog may post a comment.